How to Choose the Right Exhaust Pressure Gauge?
Choosing the right Exhaust Pressure Gauge begins with understanding what the engine actually needs to reveal. A dashboard reading alone rarely tells the complete story. The gauge must show exhaust restriction accurately, withstand vibration, and remain readable beside heat-soaked pipes and a noisy engine bay.
Gale Banks, a respected automotive engineer and founder of Banks Power, has often warned, “Backpressure is not horsepower.” That short statement matters. Excessive exhaust pressure can indicate a blocked diesel particulate filter, restricted muffler, damaged catalytic converter, or an undersized exhaust system. A suitable Exhaust Pressure Gauge helps technicians identify these conditions before performance declines or components overheat.
Accuracy comes first. Choose a gauge with a pressure range suited to the engine, rather than selecting the largest dial available. A very broad range may hide small but important pressure changes. A narrow range may become unsafe during an unexpected restriction. Consider the measurement point, tubing length, thread type, temperature exposure, and whether the gauge requires a snubber or isolation line.
Readability matters too. White markings, clear graduations, and a stable pointer help during roadside checks or workshop testing. Digital models offer data logging, but batteries and sensors can fail. Analog gauges are simpler, although they may respond more slowly.
There is no perfect choice.
Even experienced technicians can overlook pulsation, installation angle, or calibration drift. Review the manufacturer’s specifications, compare the gauge with a calibrated reference, and inspect the connection regularly. The right instrument does not merely display pressure. It turns an invisible exhaust problem into evidence that supports a safer, more confident repair decision.
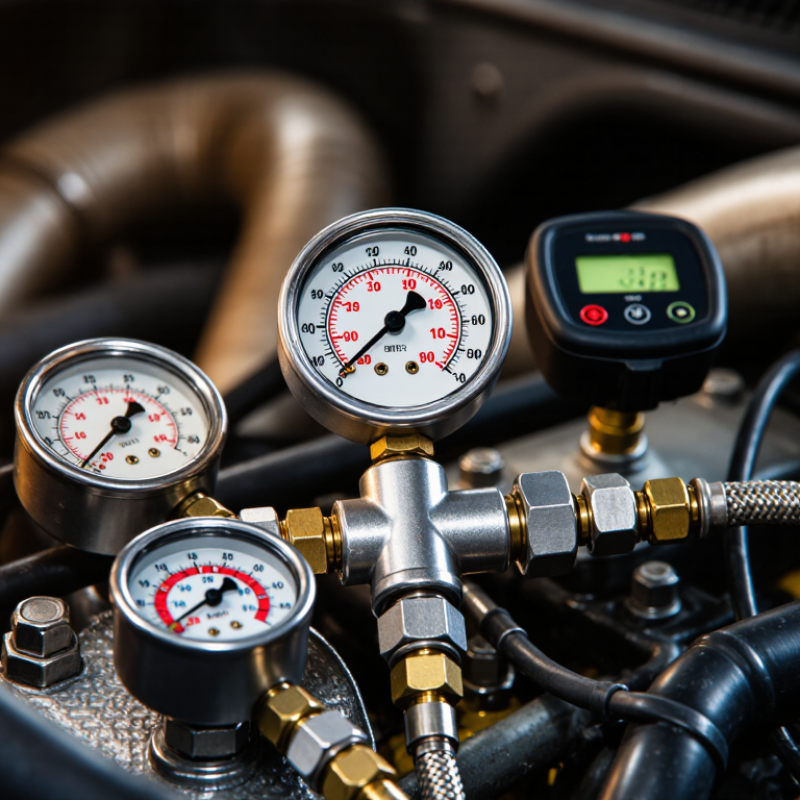
What an Exhaust Pressure Gauge Measures
An exhaust pressure gauge measures resistance in the exhaust path, not engine power. It records pressure before or after components such as the turbocharger, diesel particulate filter, catalytic converter, or muffler. The reading is usually shown in kilopascals or pounds per square inch.
Pressure rises when soot, ash, crushed tubing, or a damaged filter restricts gas flow. A technician may compare pressure at idle and under load. A sharp increase during acceleration often reveals a restriction that idle testing misses. Temperature matters too. Hot exhaust can change readings and damage unsuitable sensors.
The U.S. Environmental Protection Agency’s 2023 Inventory reports that transportation created 28% of United States greenhouse-gas emissions in 2021. Accurate exhaust diagnosis therefore supports efficiency, although a gauge cannot measure emissions directly. The U.S. Department of Energy’s vehicle technology research also links reduced airflow resistance with better engine efficiency. That relationship is real, but not perfectly predictable.
Choose a gauge with a suitable pressure range, heat-resistant tubing, and clear graduations. Digital models offer easier logging, while analog versions remain practical in dirty workshops. Accuracy is often overlooked. A cheap gauge may suggest a problem that does not exist. I would verify readings with a calibrated reference instrument before replacing expensive components.
How to Choose the Right Exhaust Pressure Gauge?
What an Exhaust Pressure Gauge Measures
An exhaust pressure gauge measures backpressure in the exhaust system, usually upstream of the turbocharger, catalytic converter, diesel particulate filter, or muffler. The reading shows the pressure resisting the flow of exhaust gases. Excessive backpressure can indicate a restricted or blocked exhaust component.
The chart shows commonly used diagnostic reference limits. A healthy system is generally expected to remain below approximately 1.5 psi (10.3 kPa) at idle and 3.0 psi (20.7 kPa) at 2,500 rpm without load. Always compare readings with the vehicle manufacturer's specifications.
How to Determine the Required Pressure Range
Choosing the correct exhaust pressure gauge starts with the engine’s actual backpressure, not the pipe diameter. Check the equipment manual for the permitted pressure and measurement point. Then record pressure during idle, normal load, and the heaviest expected load. Measure under load.
The gauge range should cover the highest expected reading without placing normal pressure near the scale limit. As a practical starting point, select a full-scale value about 1.5 to 2 times the maximum measured pressure. For example, a system reaching 4 psi may need a 0–10 psi gauge. This leaves room for temporary spikes and keeps readings easy to interpret. A range that is too wide can hide small changes. Do not guess.
Consider pressure pulsation, temperature, and installation distance. A snubber or suitable dampening device may steady the pointer, but excessive dampening can delay warning signs. If the sensor is installed close to a hot exhaust section, confirm that the gauge and connecting tube can tolerate the temperature. Pressure units must also match the maintenance records; mixing psi, kPa, and bar creates avoidable errors.
I have seen gauges selected only because they were available. That choice often produced a calm-looking dial and poor diagnosis. Review real operating data after installation. If the pointer normally stays below the first quarter of the scale, the range may still be too large, even when the maximum pressure appears acceptable. Recheck the selection after cleaning the exhaust system or changing operating conditions.
Which Gauge Connection and Port Size to Select
Choosing the correct connection and port size often matters more than the gauge dial. ASME B40.100-2022 emphasizes pressure-retaining integrity, readability, and application suitability. In field work, a gauge can look accurate while its connection leaks or vibrates loose. That is a costly mistake.
Match the connection material to the exhaust environment. Stainless steel connections suit corrosive moisture and high-temperature gases better than basic carbon steel. Select NPT, BSP, or another thread only after checking the equipment drawing. Thread standards are not interchangeable. A 1/4-inch port is common for compact gauges, while a 1/2-inch port can reduce restriction in dirty or pulsating exhaust lines. Do not oversize blindly. Larger ports may increase installation space and cost.
PORT LOCATION also affects readings. Keep the sensing opening away from soot pockets, condensate traps, and sharp flow changes. For pulsating exhaust, a restrictor or snubber can protect the movement, but it may slow response. That trade-off needs testing.
ISO 17025 calibration principles stress traceability and documented uncertainty, yet many maintenance teams still check only the dial. I have seen installations where the connection was correct, but a long unsupported tube created vibration errors. Recheck the gauge after startup, thermal cycling, and several operating hours. Field conditions often expose assumptions that bench testing misses.
How to Choose the Right Accuracy and Display Type
How to Choose the Right Exhaust Pressure Gauge?
Accuracy should match the risk, not simply the highest specification. For routine exhaust monitoring, a gauge with ±1.0% full-scale accuracy may be sufficient. Critical combustion checks often justify ±0.5% or better. ASME B40.100-2022 provides performance and accuracy guidance for pressure gauges, but the standard does not replace application testing. A 0–1 bar range can show small pressure changes clearly. A 0–10 bar gauge may hide them.
Display type changes how quickly operators notice problems. Analog gauges work well in hot, dusty areas because they need no battery. Their moving pointer gives useful trend information. Digital gauges offer clearer readings, selectable units, and easier data recording. However, sunlight, condensation, and battery failure can reduce their practical value. NIST Technical Note 1297 explains that a coverage factor of 2 commonly represents about 95% confidence in measurement uncertainty. That matters when comparing a displayed value with a calibration report. No display is perfect.
Tips: Select a range where normal pressure sits near the middle third of the scale. Check readability from the operator’s actual viewing distance. For digital models, confirm resolution, refresh rate, temperature compensation, and ingress protection. Request calibration evidence from an ISO/IEC 17025-accredited laboratory when accuracy affects maintenance decisions. I would also review the choice after one operating season. Vibration may expose weaknesses that a specification sheet misses.